socket.io入门实践

相关链接:
socket.io官网
零基础搭建网页聊天室(socket.io使用教程)

开始

创建一个基础的聊天应用, 这不需要Node.js和Scocket.io基础

web框架

首先是package.json文件, 用于配置依赖并且安装express框架

1
cnpm install --save express@4.15.2
1
2
3
4
5
6
7
8
{
"name": "socket-chat-example",
"version": "0.0.1",
"description": "my first socket.io app",
"dependencies": {
"express": "^4.15.2"
}
}

新建一个index.js文件作为node服务器入口文件

1
2
3
4
5
6
7
8
9
10
let app = require('express')()
let http = require('http').Server(app)

app.get('/', (req, res) => {
res.send(`<h1>Hello World!</h1>`)
})

http.listen(3000, ()=>{
console.log('listening on *.3000')
})

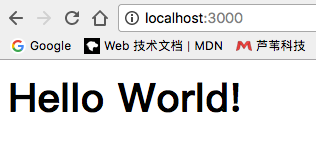
执行命令, 开启http服务, 在浏览器打开3000端口

1
node index.js

提供HTML

直接返回标签容易让人混乱, 这里重构代码, 新建一个index.html文件

1
2
3
4
5
6
7
8
9
10
11
12
13
14
15
16
17
18
19
20
21
22
<!doctype html>
<html>
<head>
<title>Socket.IO chat</title>
<style>
* { margin: 0; padding: 0; box-sizing: border-box; }
body { font: 13px Helvetica, Arial; }
form { background: #000; padding: 3px; position: fixed; bottom: 0; width: 100%; }
form input { border: 0; padding: 10px; width: 90%; margin-right: .5%; }
form button { width: 9%; background: rgb(130, 224, 255); border: none; padding: 10px; }
#messages { list-style-type: none; margin: 0; padding: 0; }
#messages li { padding: 5px 10px; }
#messages li:nth-child(odd) { background: #eee; }
</style>
</head>
<body>
<ul id="messages"></ul>
<form action="">
<input id="m" autocomplete="off" /><button>Send</button>
</form>
</body>
</html>

并修改服务器路由, 发送一个html文件而不是标签

1
2
3
app.get('/', (req, res) => {
res.sendFile(__dirname + '/index.html')
})

重新运行

整合Socket .io

整合Socket .io 分为客户端和服务器端两部分,其中客户端不需要而外加载, 只需要作为全局变量使用即可

客户端配置,修改index.html文件, 在前加入js代码

1
2
3
4
5
6

<script src="/socket.io/socket.io.js"></script>
<script>
let socket = io()
</script>
</body>

修改index.js文件, 监听l连接与连接断开事件

1
2
3
4
5
6
io.on('connection', (socket)=>{
console.log('a user connected')
socket.on('disconnect', ()=>{
console.log('user disconnect')
})
})

在控制台中可以查看用户连接事件

触发事件

socket .io最主要的作用就是你可以触发和监听任何你想要的事件,任何对象都可以编码成json,并且二进制数据也是支持的

修改index.html 将输入框内容,通过‘chat message’事件发送给服务器

1
2
3
4
5
6
7
8
9
10
11
12
<script src="/socket.io/socket.io.js"></script>
<script src="https://code.jquery.com/jquery-1.11.1.js"></script>
<script>
$(function (){
var socket = io()
$('form').submit(function(){
socket.emit('chat message', $('#m').val())
$('#m'.val(''))
return false
})
})
</script>

修改服务器index.js文件, 监听客户端的发送消息事件, 并将消息打印在控制台

1
2
3
4
5
6
7
8
9
io.on('connection', (socket)=>{
console.log('a user connected')
socket.on('disconnect', ()=>{
console.log('user disconnect')
})
socket.on('chat message', (msg)=>{
console.log('message: ' + msg)
})
})

在客户端输入信息, 服务器就能监听到了

广播

如果向每个连接的客户端都发送事件, 可以使用io.emit()方法

1
io.emit('some event', { for: 'everyone' });

如果是想某个特定的sokect连接发送事件,可以使用broadcast标志

1
2
3
io.on('connection', function(socket){
socket.broadcast.emit('hi');
});

这里将事件发送给每一个连接的客户端, 修改index.js文件

1
2
3
4
5
6
7
8
9
10
11
12
13
io.on('connection', (socket)=>{
console.log('a user connected')
//监听连接断开事件
socket.on('disconnect', ()=>{
console.log('user disconnect')
})
//监听客户端发送消息事件
socket.on('chat message', (msg)=>{
console.log('message: ' + msg)
//向所有客户端广播事件
io.emit('chat message', msg)
})
})

修改index.html文件, 监听事件, 将消息动态插入到ui列表中

1
2
3
4
5
6
7
8
9
10
11
12
13
<script>
$(function () {
var socket = io()
$('form').submit(function () {
socket.emit('chat message', $('#m').val())
$('#m').val('')
return false
})
socket.on('chat message', function (msg) {
$('#messages').append($('<li>').text(msg))
})
})
</script>

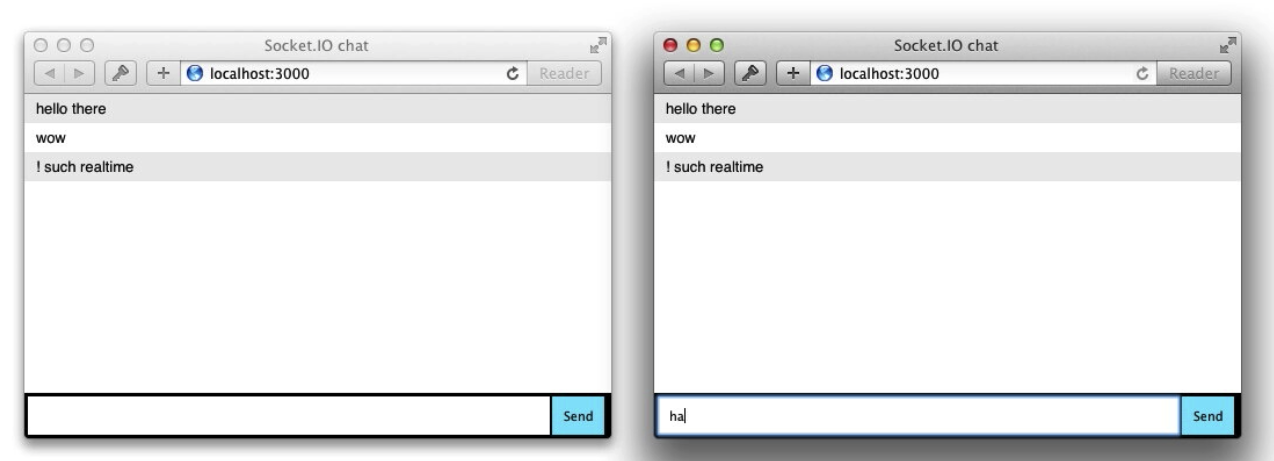
打开两个客户端, 实现了简单的聊天室功能

功能更完善的聊天室应用

1
$ git clone https://github.com/socketio/chat-example.git